In the first part of this tutorial, Deploy Django to DreamCompute on Ubuntu with Apache – Part 1, we walked through setting up our first DreamCompute Instance.
In this part, we’ll walk through how to connect to the system’s Shell and SFTP.
Note: This part of the tutorial is written using a Windows operating system. Instructions, software, and results may vary based on your operating system.
Downloading PuTTY and PuTTYgen
Before we can connect to the system’s Shell or SFTP, we first need to install PuTTY and PuTTYgen. Both software is found and downloaded here.
Generating Our Private Key with PuTTYgen

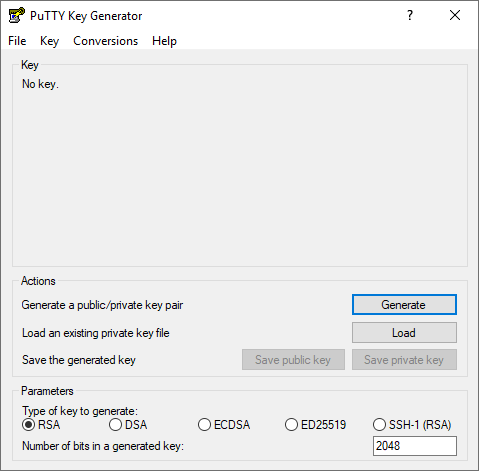
Once we got both software downloaded and installed, launch PuTTYgen. We will need to generate a Private Key to connect to our system’s Shell or SFTP successfully.
To do this click on the Load button and locate the key pair file we’ve downloaded from the previous tutorial. This file is the file with the .pem extension.
Note: You might have to select “All Files(.)” on Windows to be able to choose the key pair file.
Once the key pair file is loaded, you’ll get a pop-up notice saying that it imported successfully. Press OK then press Save private key. Give your private key a name and store it somewhere safe. You will need access to this file each time you access the system’s Shell or SFTP.
Accessing The System’s Shell with PuTTY

Now that we got our private key generated, it is time to connect to the system’s Shell. To do this, launch PuTTY.
Once launched, our default view should be under Session. The first thing we would want to do is copy and paste in our IP Address from our Instance to Host Name (or IP address). We got this from the previous part of this tutorial.
Before we’re able to connect, the next step is to load in the private key we just generated. On the left-hand site expand SSH and click on Auth.
Under Private key file for authentication, click on Browse and select our private key.
When our private key is loaded, click back on Session. We can now type in a session name in the Saved Sessions box and hit Save. We can now load up the same settings each time by selecting the Session and pressing Load to prevent us from having to enter the IP Address and selecting the private key manually each time.
A terminal will open up, and the very first thing it will ask you is to login as. By default, all Ubuntu Instances will have ubuntu as the username.
If you’ve successfully connected you should see:
ubuntu@instance_name:~$
Where instance_name is the name of your Instance.
Accessing SFTP

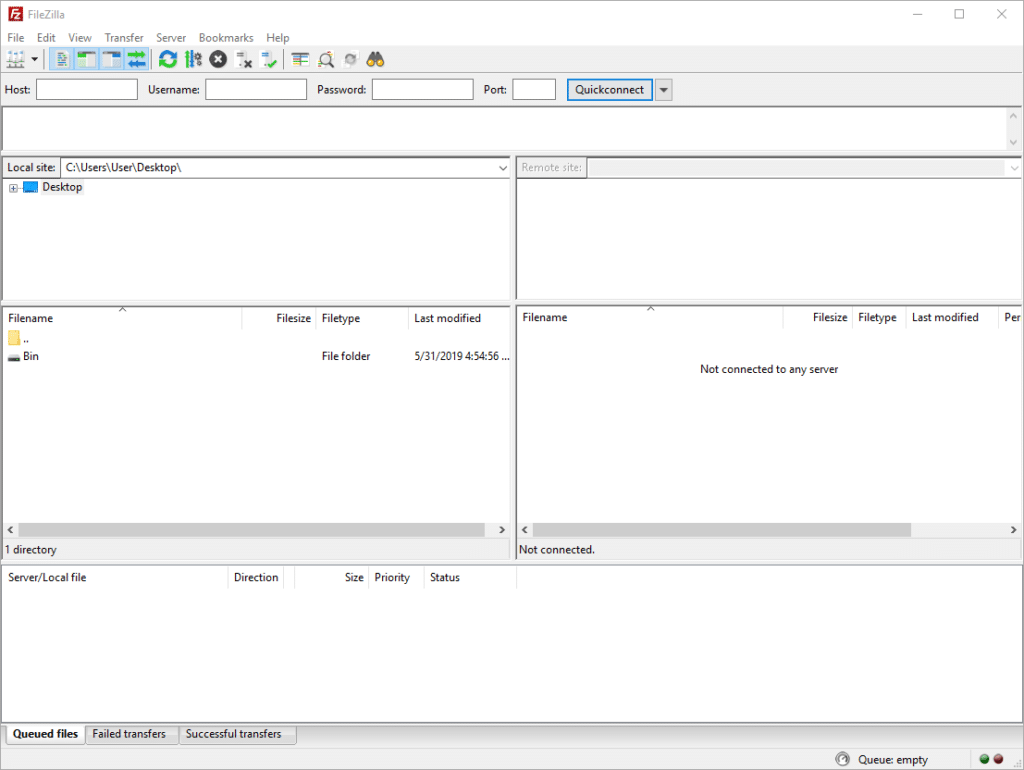
To access our FTP, or SFTP in this case, we first must install an FTP client. For this tutorial, we’ll be using FileZilla. You can download FileZilla here.
Once installed, launch FileZilla. When FileZilla open up, press the Site Manager button, the button that is directly below the File menu option and is the first left button on the toolbar.
A new window will open. Press on the New Site button and give it a name. Under Protocol select SFTP – SSH File Transfer Protocol. Enter our Instance’s IP Address in the Host field. Then under Logon Type select Normal and enter ubuntu as the User.
Press OK once the information is in place.
Note: Pressing the Connect button will generate errors.
To connect to our Instance without errors, we must tell FileZilla to load in our private key.
To do this, hover over Edit on the top menu and press on Settings. A new window is going to pop up. On the left-hand side, select SFTP under Connection.
Click on the Add key file button and load in our private key and when the private key is loaded press OK to close out the window.
We can now connect to our Instance by clicking the Connect button under Site Manager or by clicking on the dropdown arrow by the Site Manager button and selecting the site we’ve just saved.
You’ve now successfully connected to the Instance via SFTP.
Note: We will not be using SFTP throughout the remainder of this tutorial. However, this is useful information to have if you are uploading a local Django project.


